Contents
When faced with water damage, it’s essential to act quickly and methodically. You’ll need to assess the extent of the water damage immediately, documenting everything for insurance claims. Then, you must employ effective water removal techniques to minimize further issues. The process doesn’t stop there; drying, cleaning, and restoring are equally important. Understanding these steps can greatly impact the outcome. Let’s explore each tip to ensure you’re fully prepared for this challenging task.
Key Takeaways
- Conduct a thorough assessment to identify and document all damage, including hidden areas, for effective restoration planning.
- Utilize advanced water removal equipment and prioritize safety while extracting water from affected areas.
- Implement drying techniques using fans and dehumidifiers to promote rapid evaporation and prevent moisture retention.
- Clean and sanitize all surfaces to eliminate mold spores, using antifungal solutions for added protection.
- Assess and restore damaged structures and contents, replacing severely affected materials to maintain safety and prevent future issues.
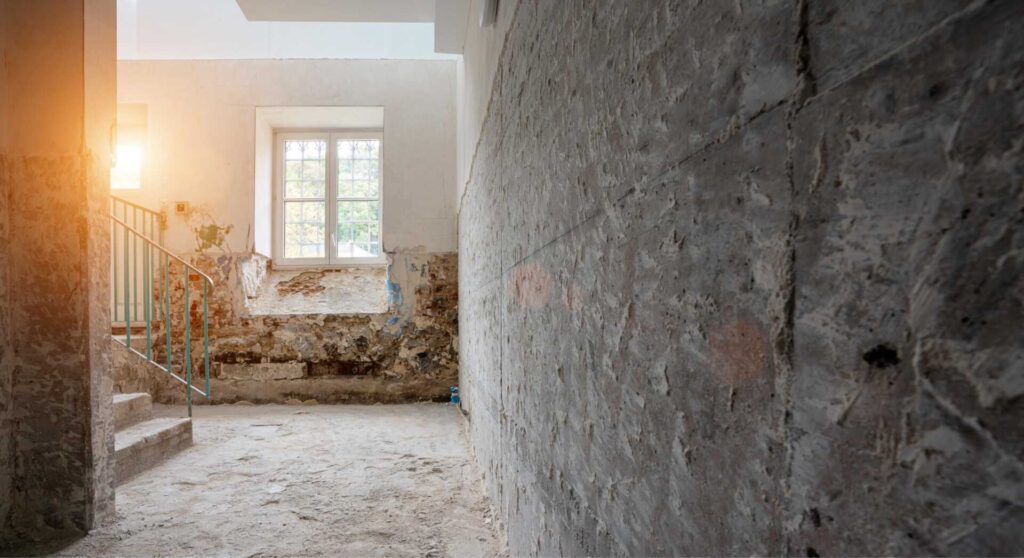
Assessing the Damage Quickly and Thoroughly
When faced with water damage, you have just a few essential hours to assess the situation effectively and minimize further issues.
Begin with an initial inspection; look for visible signs like soaked carpets, warped walls, or ceilings with water stains. Identify the source of the leak, as this will guide your next steps.
Documenting the damage is vital—take photos, make notes, and record the extent of the affected areas. This documentation will help in insurance claims and provide a clear reference for restoration efforts.
Pay attention to hidden areas, such as behind appliances or under cabinets, where moisture may linger, leading to mold growth.
Your thoroughness during this assessment can greatly impact the overall success of the restoration process. By acting quickly and documenting everything, you’re setting a solid foundation for effective recovery and preventing further complications.
Implementing Effective Water Removal Techniques
After evaluating the damage, the next step is to implement effective water removal techniques to mitigate further issues.
Begin by utilizing advanced equipment like submersible pumps and industrial wet vacuums. These tools can quickly extract standing water, considerably reducing moisture levels in your space.
Before you start, prioritize safety precautions; wear personal protective equipment such as gloves and masks to guard against contaminants.
Verify that the power is turned off in affected areas to prevent electrical hazards.
As you work, systematically move through the affected areas, paying attention to hidden pockets of water, especially in walls and floors.
Monitor moisture levels with a meter to assess effectiveness.
Remember, the sooner you remove the water, the less damage occurs, so stay focused and organized.
Effective water removal protects your property and helps prevent mold growth, ensuring a safer environment for you and your family.
Drying and Dehumidifying Affected Areas
Effective drying and dehumidifying are essential steps in restoring your home after water damage. You need to act swiftly, employing air circulation techniques to promote evaporation and prevent lingering moisture.
Using fans and dehumidifiers can notably speed up the drying process.
Consider these key elements:
- Strategic fan placement to maximize airflow across wet surfaces
- Moisture measurement tools such as hygrometers, are used to monitor humidity levels
- Sealing off wet areas to concentrate drying efforts and prevent moisture from spreading
Cleaning and Sanitizing to Prevent Mold Growth
Although you’ve taken the necessary steps to dry out your home, cleaning and sanitizing the affected areas is essential to prevent mold growth.
Start by using appropriate sanitization methods, such as a mixture of water and detergent, to scrub surfaces that were exposed to water. Make certain you pay close attention to porous materials, as they can harbor mold spores.
Implement mold prevention strategies by applying antifungal solutions to these areas after cleaning. This extra layer of protection can greatly reduce the likelihood of mold returning.
Remember to ventilate the space while you clean to promote airflow, which helps with drying and discourages mold development.
Don’t overlook items like carpets and upholstery; they may need professional cleaning or disposal if they’re heavily affected.
Restoring and Repairing Damaged Structures and Contents
Once you’ve addressed the immediate concerns of cleaning and sanitizing, it’s crucial to focus on restoring and repairing the damaged structures and contents of your home.
Prioritize maintaining the structural integrity of your property, as compromised structures can lead to further issues down the line.
To effectively restore and repair, consider the following:
Evaluate the extent of damage to walls, floors, and ceilings, identifying any areas that require reinforcement.
Salvage valuable items, such as photographs or heirlooms, ensuring their content preservation through specialized drying and cleaning methods.
Replace any severely damaged materials, like drywall or insulation, to prevent mold growth and secure a safe living environment.
Final Thoughts
In the wake of water damage, remember that swift, decisive action is your best ally. By evaluating, removing, drying, cleaning, and restoring, you’re not just reclaiming your space; you’re nurturing it back to life. Each step is like a stitch in a fabric, weaving resilience into your home. Don’t underestimate the importance of each detail—it’s the difference between a temporary fix and lasting recovery. With diligence and care, you can turn a disaster into a new beginning.
Recent Posts
Why Use Proven Techniques for Water Damage Restoration?
When faced with water damage, you know that quick action is essential. Using proven techniques
Why Waiting Hurts: Urgent Water Removal Strategies
Did you know that mold can start growing within just 24 to 48 hours after
Master Flood Recovery: Test Your Water Removal Skills
Many people underestimate the complexity of flood recovery, often thinking it’s just about removing water.